Get to know Renga
Renga is a computer-aided system for building design. Renga allows you to create 3D models of buildings that include engineering structures and MEP (Mechanical, Electrical, Plumbing) systems, and get drawings and schedules from them.
A model with drawings is stored in one file of the project which may be opened or created on the Start Page of an application.
Renga is available in two editions: Renga Standard and Renga Professional. Renga Professional lets you collaborate on a project with colleagues. It also supports more formats for interoperability with other programs. For more details, see Renga Editions.
Project components
A project includes:
- 3D View,
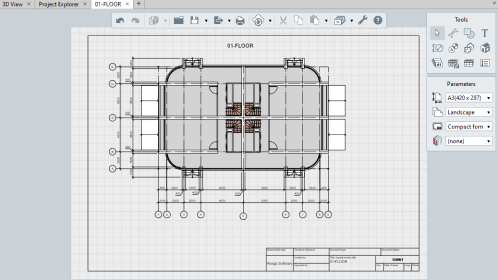
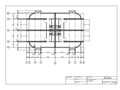
- Drawings,
- Levels,
- Assembly styles,
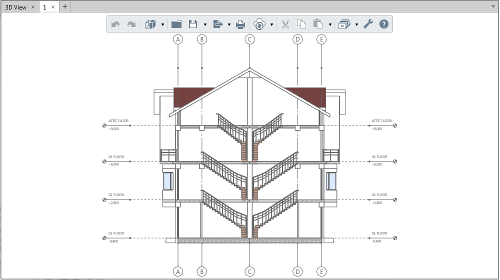
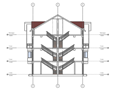
- Sections,
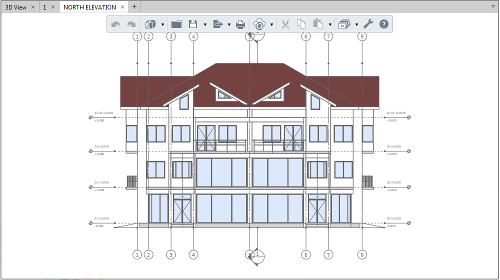
- Elevations,
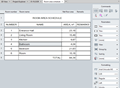
- Schedules,
- Tables.
- Pipe Systems.
- Duct systems.
- Electrical systems.


User interface
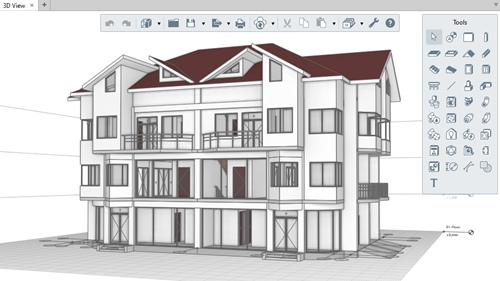
3D View is the main tab for working with the model, when it is closed, the project will be closed. You can start working with other components of the Renga project using the Project Explorer.
Renga supports a multi-window mode to make using a few monitors more convenient. You can place the windows in any possible way.
A two-button mouse with a scrolling wheel is enough for comfortable control of the working area.
- To zoom in or out a view use the mouse wheel.
- To move the working plane, hold the mouse wheel.
- To rotate the model in 3D View, hold down the right mouse button.
There is the Primary panel at the top of the active tab. You may reach any of the Primary Panel commands any time they are needed. Most of them have no connection with the subject area.
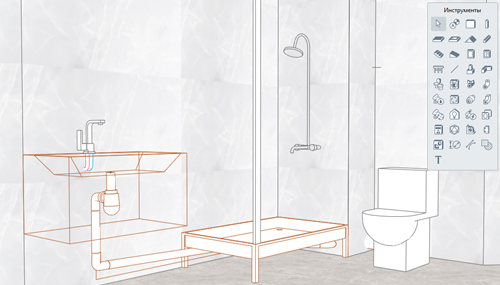
There is the Tools panel on the right side of the active tab:
- The names of the tools correspond to types of objects.
- Every tool has a certain set of properties and parameters.
- Only one active tool at once is possible.
All keyboard shortcuts that you may need are described in the Keyboard Shortcuts section.
Basic Renga principles
When building objects that are built at more than one point, the mouse pointer shows which point will be set next, depending on the selected construction method. Accurate construction, object snaps, and tracking snaps will help you build any object. The category and look of many objects is dependent of the style.
The selected object or group of objects can be instantly edited, moved, or copied using the Select tool and Object Handles. You can also copy selected objects to the clipboard and paste them into the same or another project.
Objects of all types have a set of parameters, properties and quantities that can be used when creating schedules and legends, when creating tag styles, in filters, as well as when exporting to CSV and IFC.
Reinforcement can be assigned to objects using the Reinforcement Style or by creating an assembly of rebars.
To build the route of an engineering system, you need to determine the object connections in the system tab. The route will be built in accordance with the System Parameters. You can edit the auto-generated route in 3D View with the help of handles.
To get started with Renga, create a project using the help and look at the sample projects located in the Renga installation folder \Samples\.
To extend functionality of Renga and integrate it into your application, you can use Renga API.